For years I avoided making pie crust. I thought it a daunting task and I was afraid. I am afraid no more! After finding this easy and delicious, all-butter pie crust recipe, I can’t believe I waited so long to start making my own crust. This all-butter crust is made with a food processor which takes the guesswork out of cutting in the butter. Come on, dust off your food processor and let’s make pie crust!
My Pie Crust Secrets
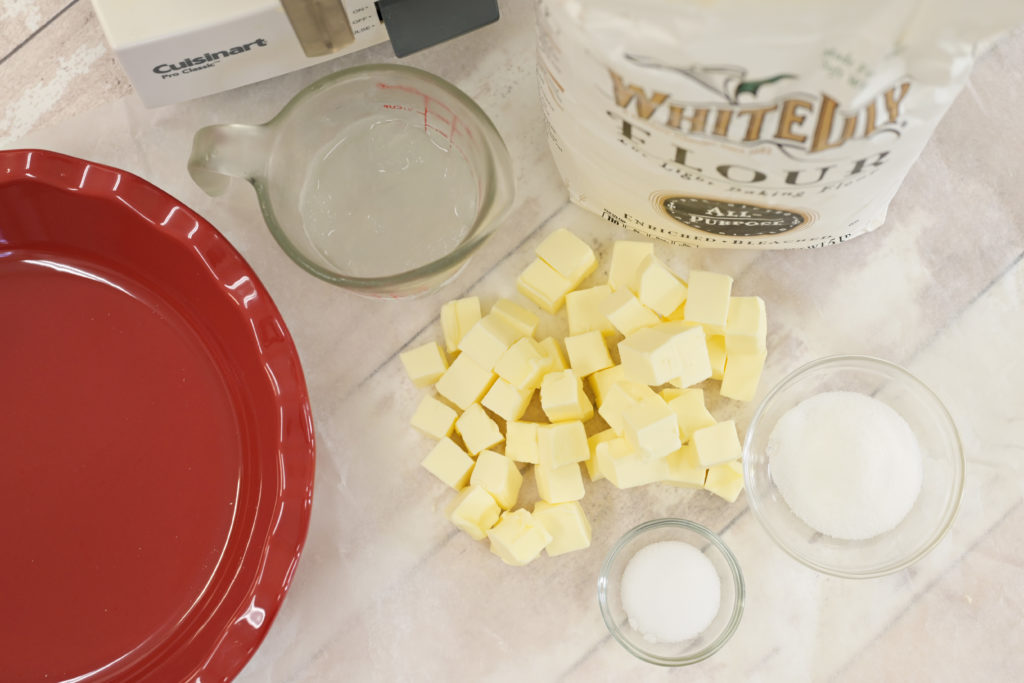
My ingredients include COLD water/vodka mix, COLD butter, salt, flour.
In my humble Southern opinion, your pie is only as good as the crust. Generations of bakers have been rolling pie crusts and the recipe hasn’t changed much with one major exception…the fat!
LARD
My grandmother made her pie crusts with lard…yes, you heard me right, lard! It made a fabulous crust, crispy and flakey. Lard has a high melting point so it doesn’t soften as quickly as butter. It makes handling the pie dough much easier and the lard pie crusts roll out like a dream. It’s true…lard pie crusts are tasty and easy to handle. If you want to give it a try, be sure to use Leaf Lard. Leaf lard is the fat that surrounds the pig’s kidneys. It is high quality, and actually lower in cholesterol and saturated fats than butter. This lard is a specialty item and isn’t the same basic lard you find in the grocery store. I haven’t had much luck in my search at grocery stores. You might want to try your local butcher shop or even search online. Keep in mind this lard does have to be refrigerated.
The downside to using lard? 1) Leaf lard is not readily available in my area. I don’t tend to keep “one use items” on hand. 2) Lard…it’s a mind thing for me.
SHORTENING
My mother was known for her pie making skills. Her pie crusts made with Crisco shortening were delicious. Shortening has a higher melting point than butter. It is easier to incorporate shortening into the dough and it is a dream to roll out. Dough made with shortening holds its shape while baking. Those beautiful crimps you make on the edge of the pie crust, stay crisp and beautiful.
The downside to using shortening? 1) Mouthfeel. Pie crusts made with shortening can leave a bit of a greasy mouthfeel. 2) Pie crusts made with shortening are not as flavorful as an all butter pie crust.
BUTTER – My Choice!
Once I discovered an all butter pie crust, there was no going back. I love the taste of butter, always have it in the fridge, and use it for all my baked goods. Butter not only makes a tasty crust, but the flakiness is out of this world.
Butter is actually 85-88% fat and 15% water. As the pie crust bakes, the butter melts and produces steam which in turn produces the flakiness in the pie crust. This is why it’s important to not overwork the butter into the dough. No one likes a tough, doughy, greasy pie crust. When rolling out the dough, you should see little pieces of butter throughout the dough.
THE FLOUR
I’m picky about my flour. My go-to is King Arthur Flour. They have no clue who I am, don’t realize I recommend their product, nor do they know I am their number-one fan girl. No, no they don’t. I love the consistency of their flour, each bag I open acts just the same as the last…every.single.time. King Arthur flour is reliable and when you bake, product reliability is everything. Now, I do like White Lily flour for pie crusts too. It is a low protein flour that also works great for baking. Both brands will make a great pie crust.
THE LIQUID
The liquid (a water and vodka mixture in this case) is what causes gluten to form and hold everything together. The reason the amount of liquid is given in a range is because different flours hold different amounts of water. Humidity can play a factor too…high humidity usually requires less water, low humidity may require more water.
Adding too much water will make your crust tough.
I’m sure you noticed that my recipe calls for ¼ cup ice water and ¼ cup ice cold vodka mixed together. First of all it’s perfectly fine to use only ice water, which I did for years. Cook’s Illustrated first recommended using vodka to replace some of the water when making pie crust. The reason being, that vodka is 40% alcohol and 60% water. The alcohol moistens the flour but does not cause gluten to form, thus yielding a more tender crust. The alcohol bakes off and does not leave a taste. What I’ve found is that the addition of the vodka makes the crust easier for me to roll out. If I’m out of vodka, then I use water only. For me it’s not a make or break.
THE SALT
Salt adds flavor. It is as simple as that.
MY THREE TOP TIPS FOR PERFECT PIE CRUST
1) make sure the butter and ice water/vodka are super cold…like put them in the freezer for 30 minutes before using.
2) use a food processor. The food processor works faster than a pastry blender thus your butter stay cold, which is super important.
3) work quickly so the heat from your hands doesn’t warm the butter.
HOW DO YOU KNOW YOU’VE ADDED ENOUGH LIQUID?
Drizzle a little bit of the water (3-4 TBSP at a time) into the flour mixture then pulse for 10-15 times. You might use ¼ of a cup of liquid, you might have to use the whole ½ cup of liquid. After each addition of water, take the top off the food processor and check the dough. You have added enough liquid when the dough starts to build up (it will look like a collar of dough) around the top of the food processor. This is the point where I dump the dough onto the work surface and form a disk. Cut the disk into two halves. Wrap each half with saran wrap. Place in fridge.
HOW TO MAKE BUTTER PIE CRUST
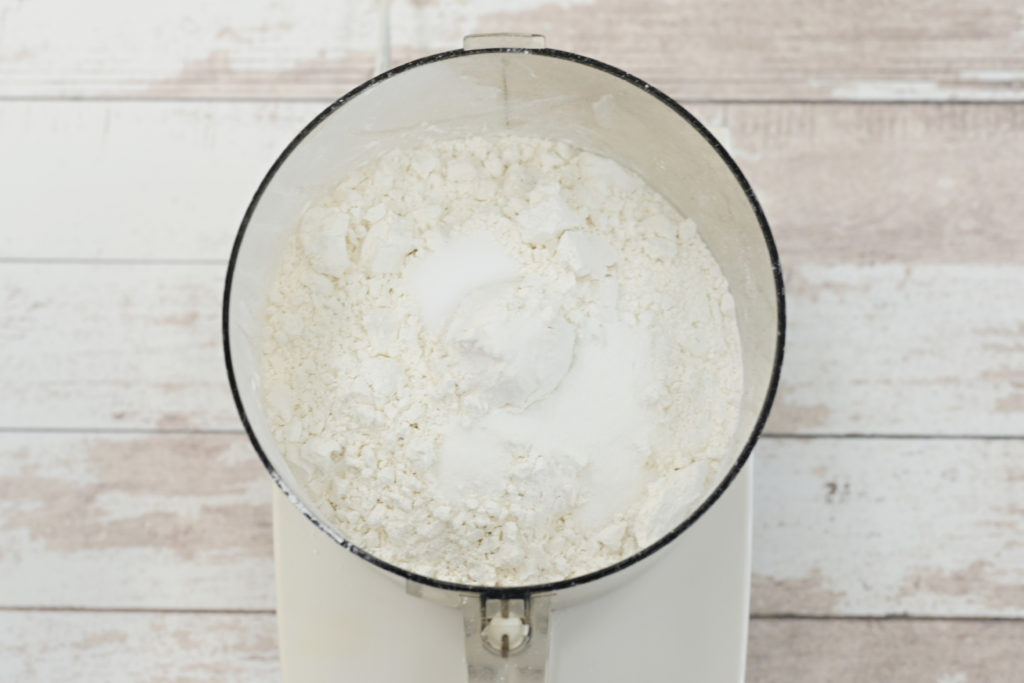
Toss the four and salt in your trusty food processor and pulse to mix.
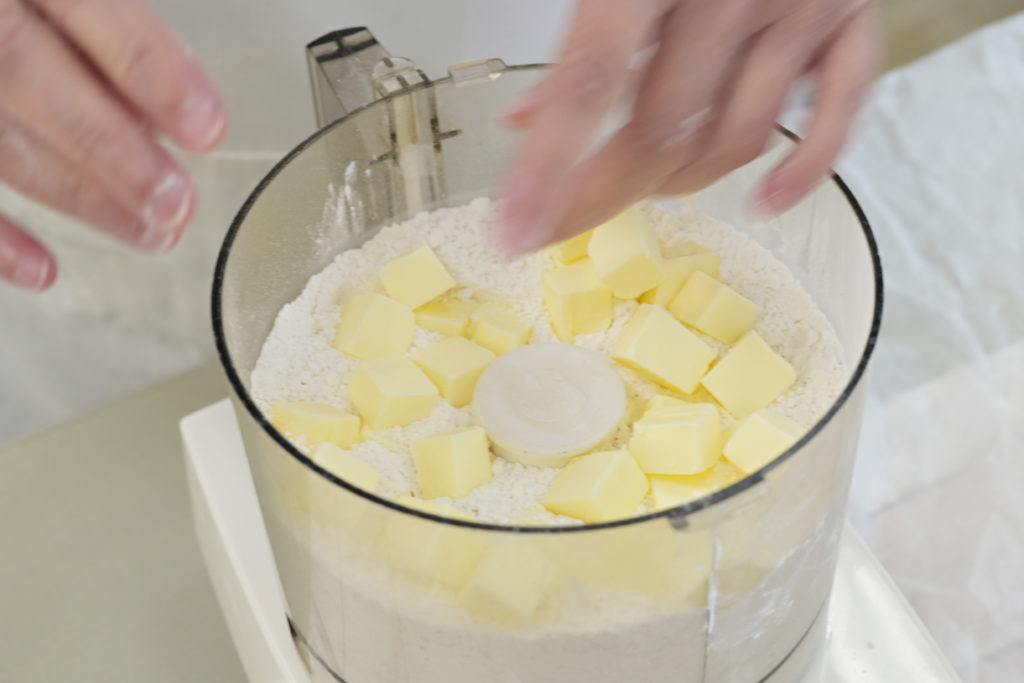
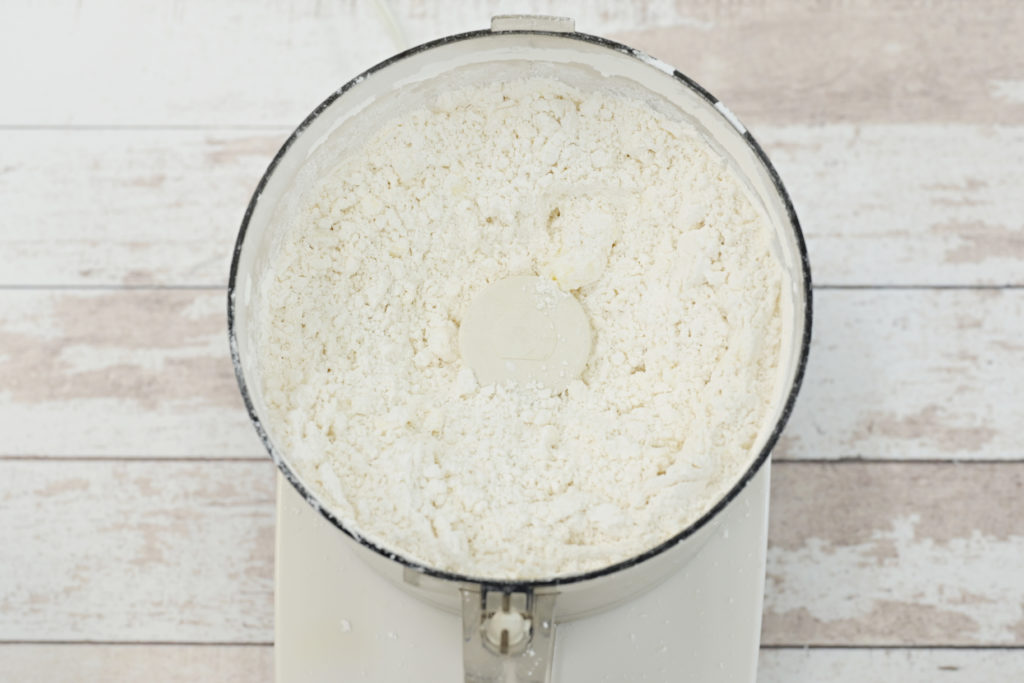
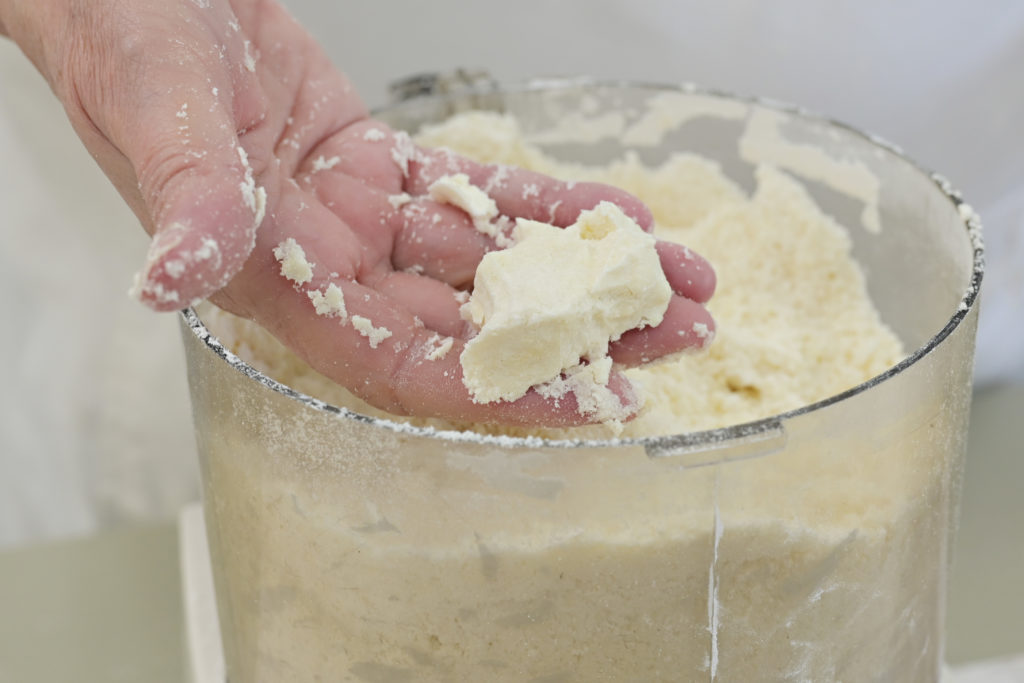
Place frozen cubes of butter on top of flour mixture. Pulse at 10 second intervals until mixture resembles course meal.
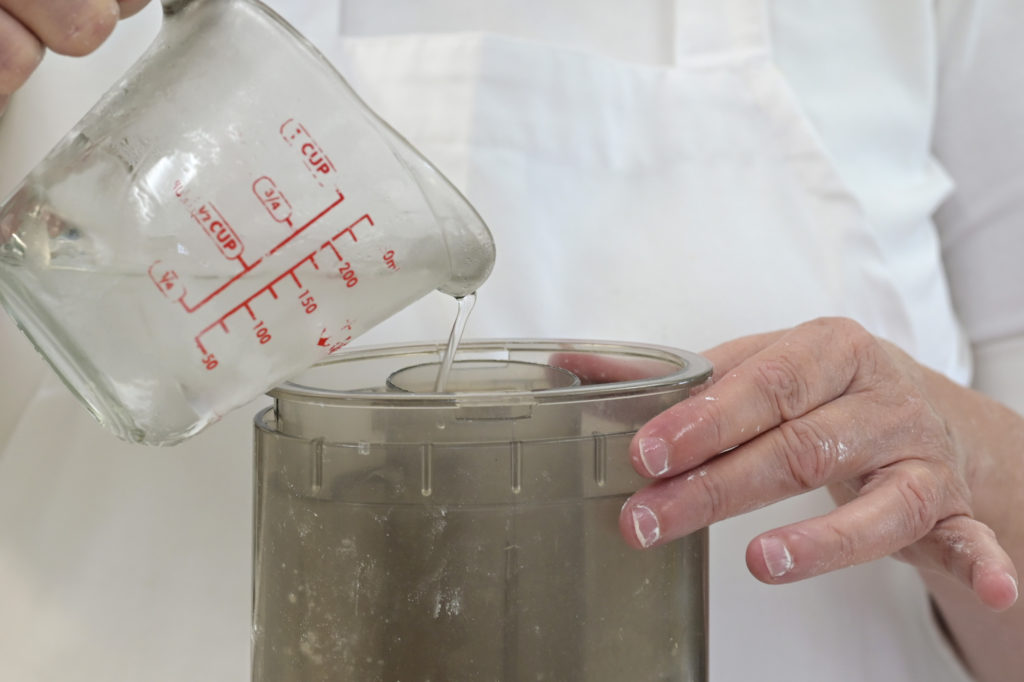
Combine ice cold water and vodka then sprinkle over flour mixture. Pulse until mixture sticks together.
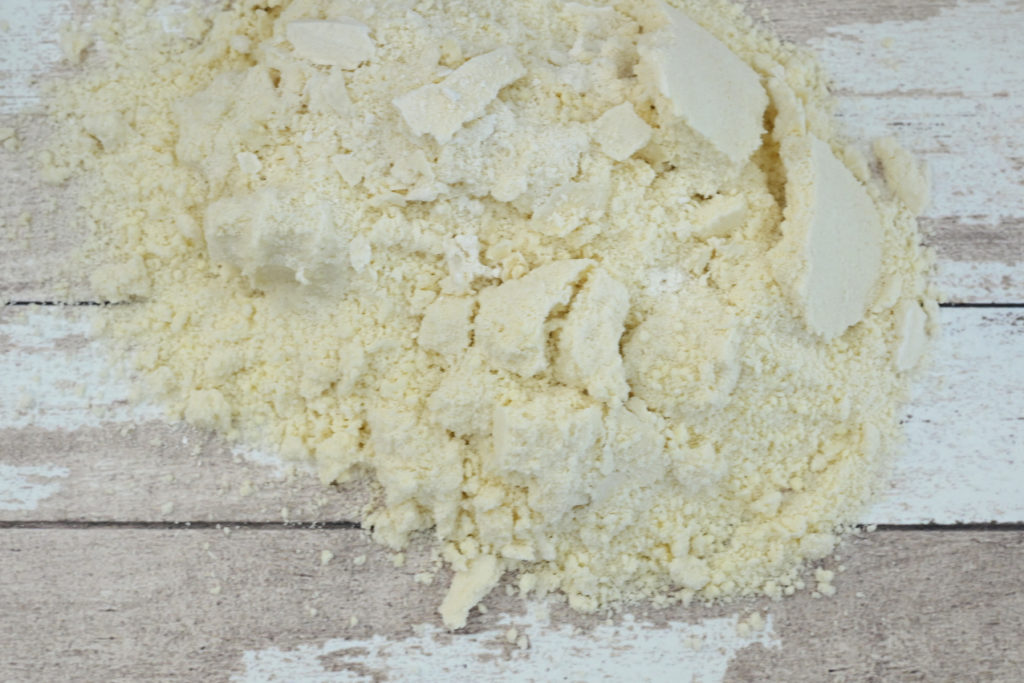
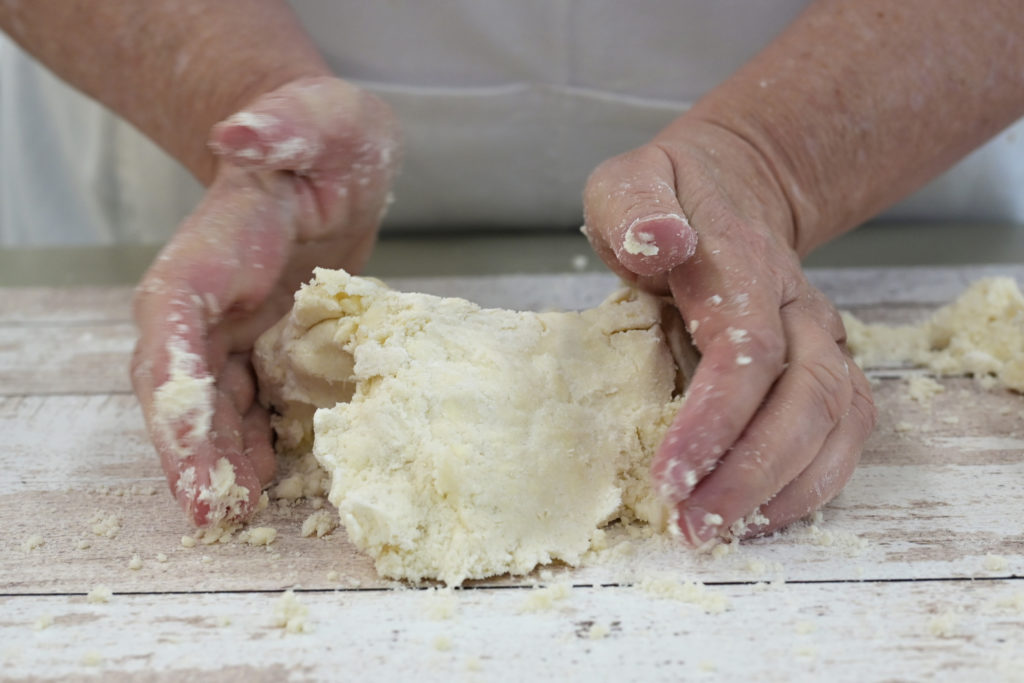
Turn crust mixture onto a slightly floured surface. Gather the mixture into a ball. Cut the ball in half and form each half into a disk. Cover with plastic wrap twice and place in the refrigerator for an hour.
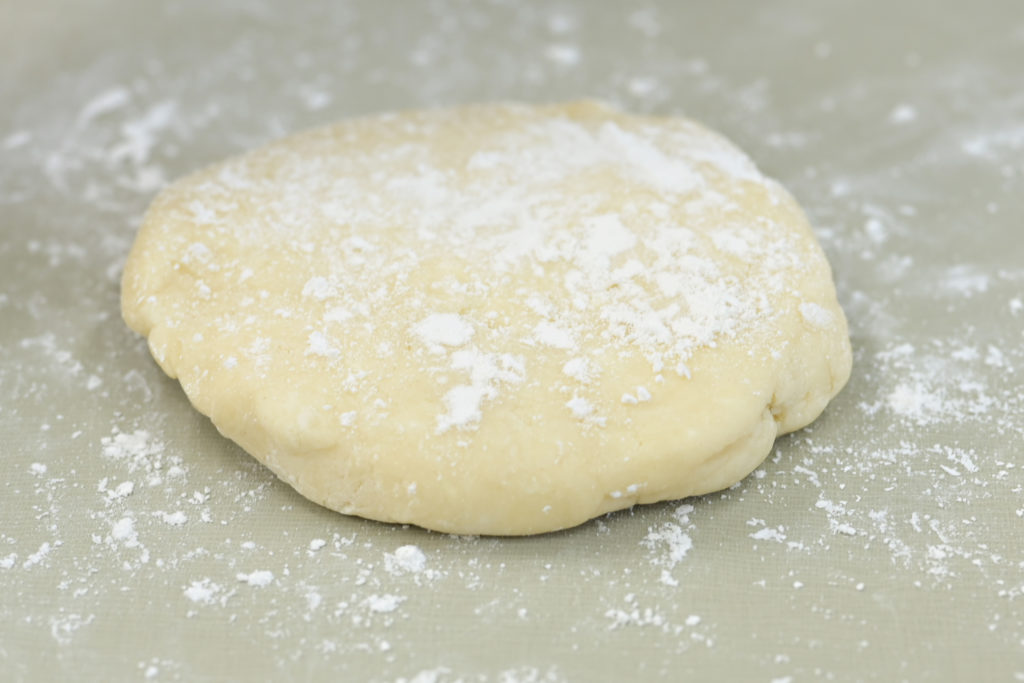
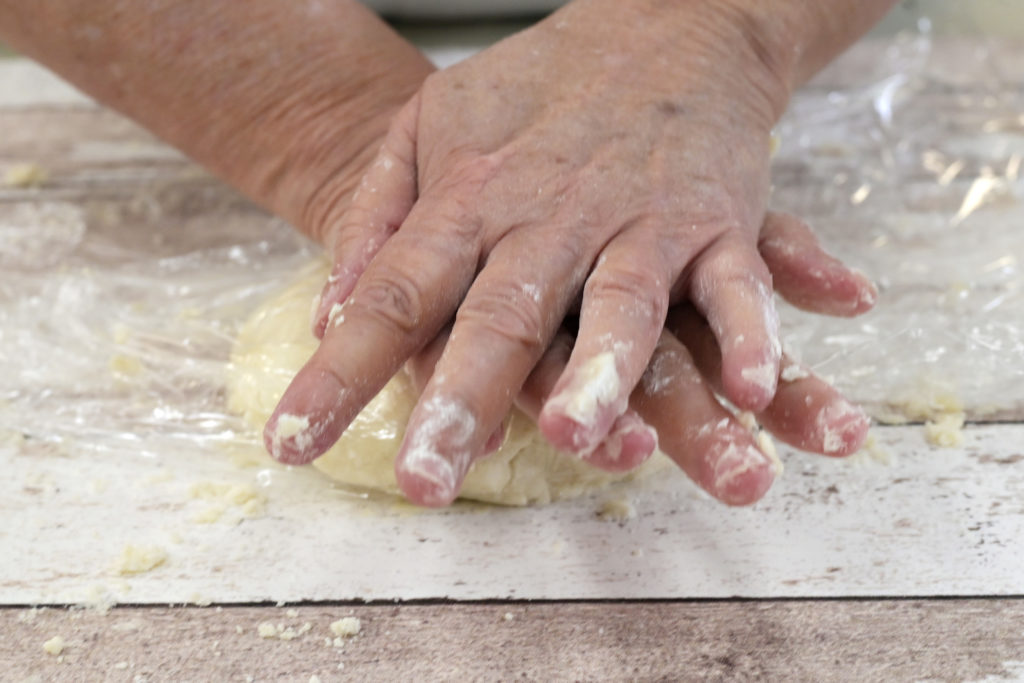
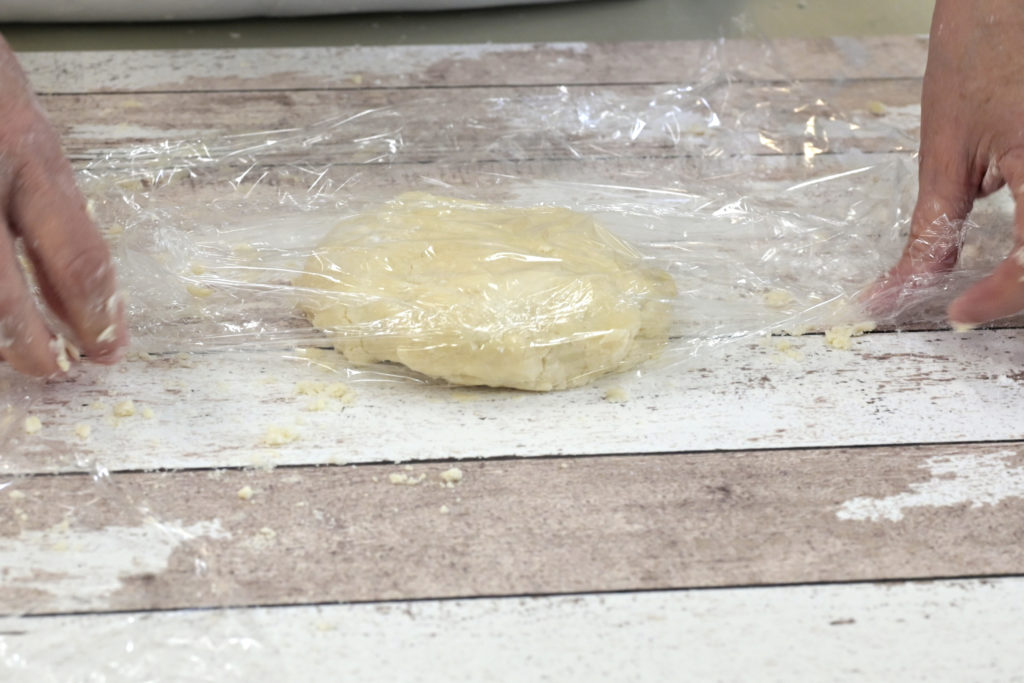
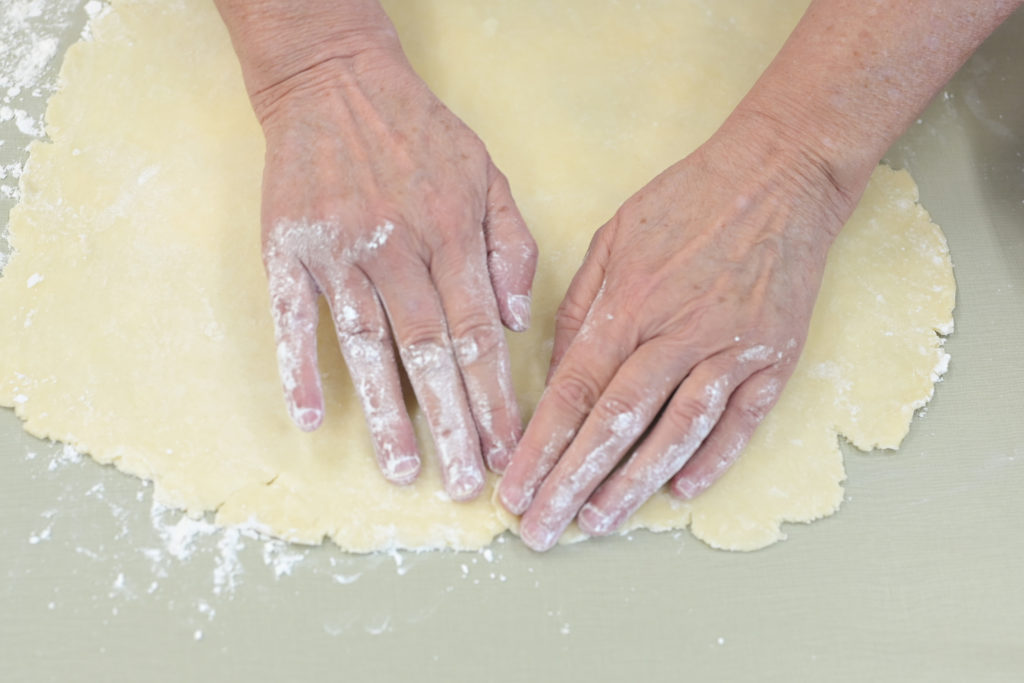
Allow chilled dough to sit for 5-10 minutes before rolling. Lightly dust work surface and top of the dough and rolling pin. Roll, turning the dough a quarter between rolling.
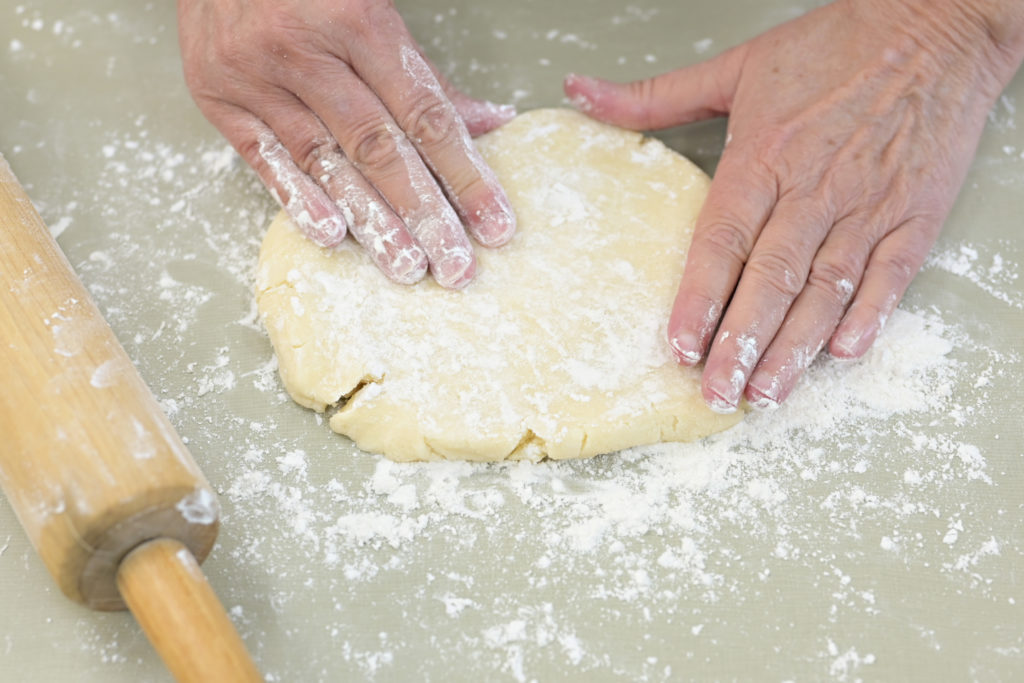
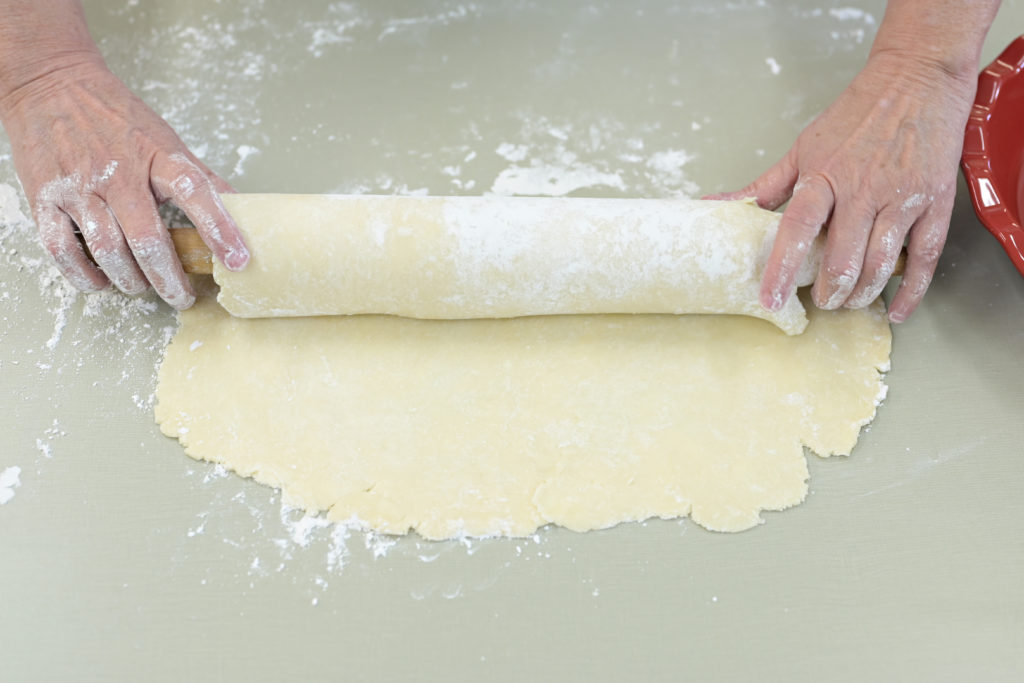
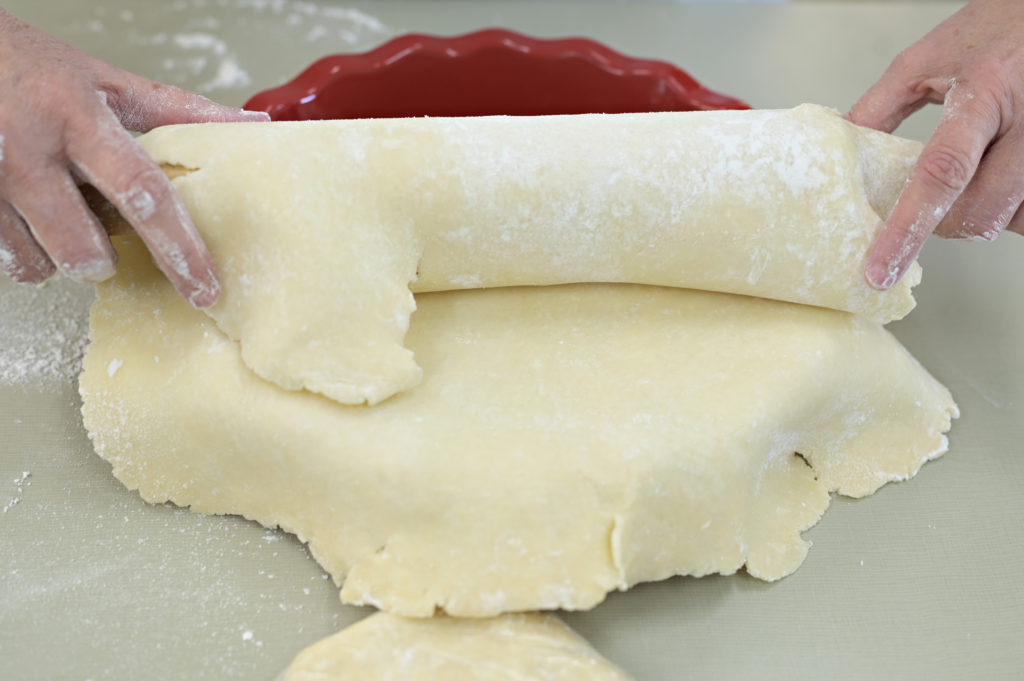
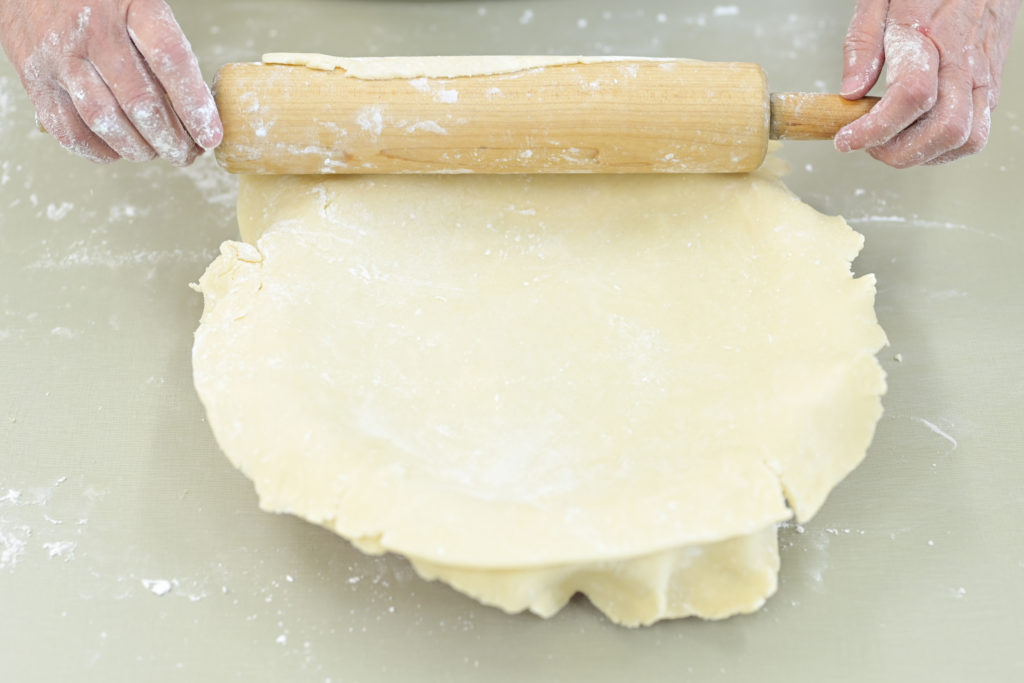
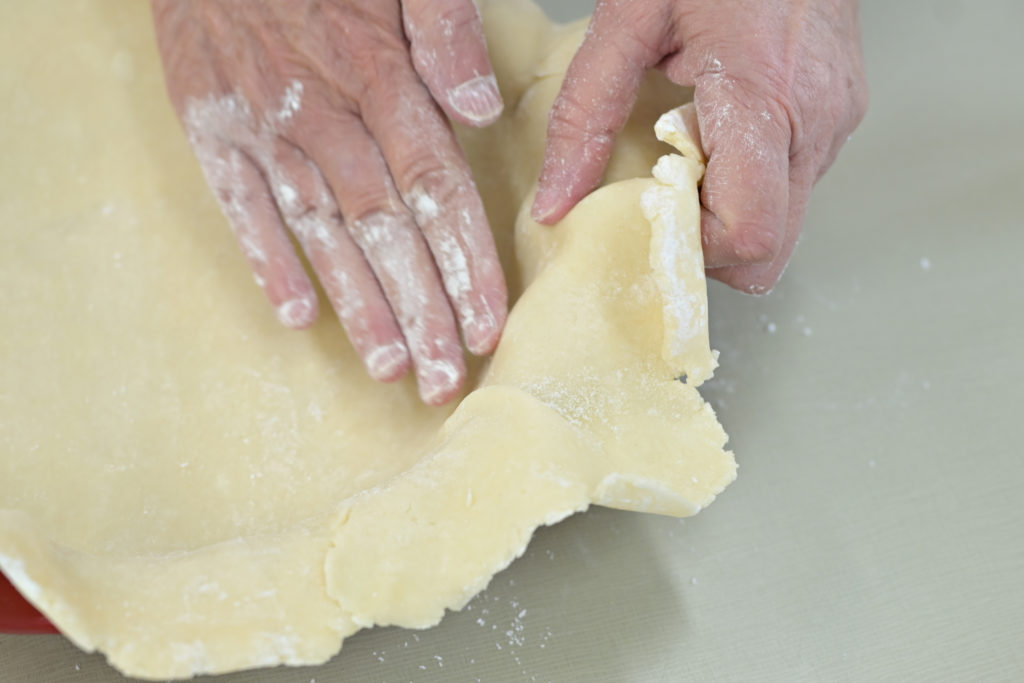
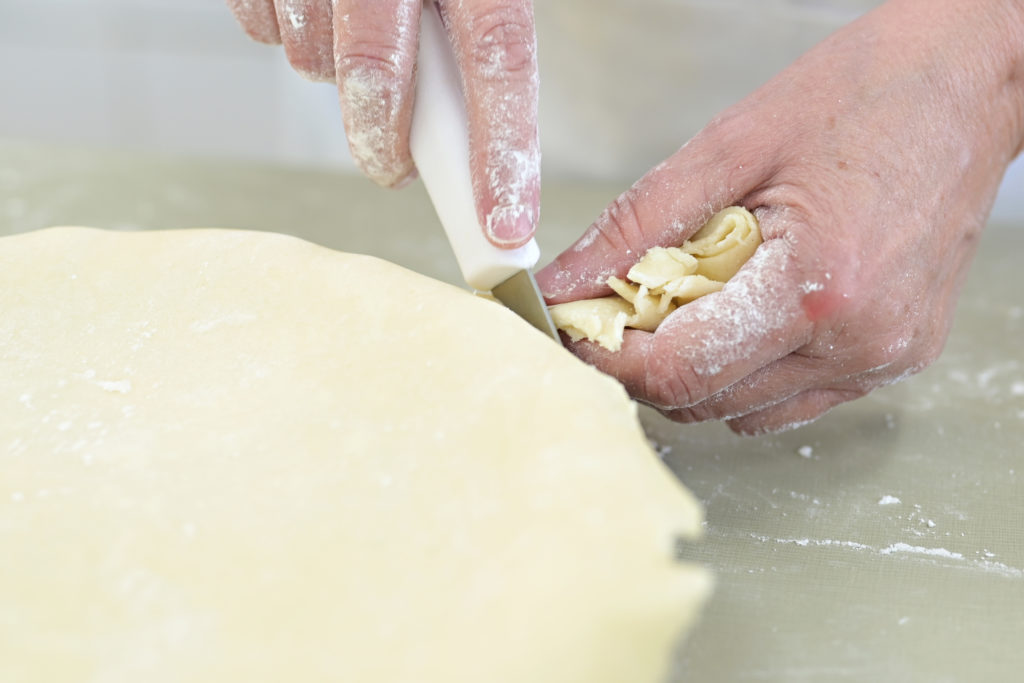
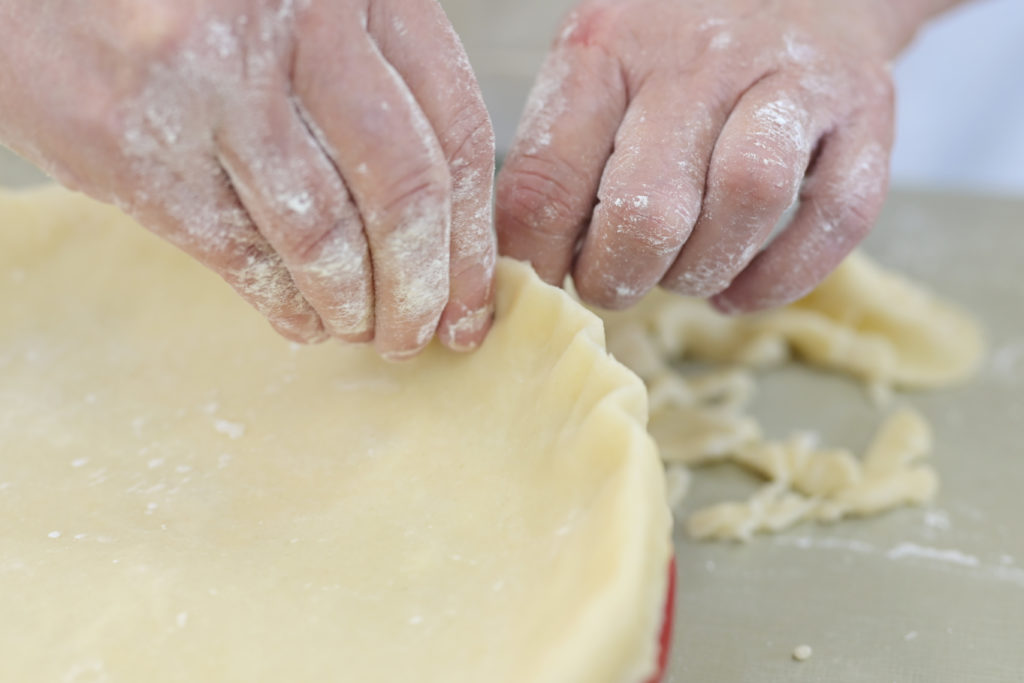
Roll back over the rolling pin and gently place over pie pan. Push into sides of pan. Cut off excess around edges. Crimp edges with your two index fingers.
Pie Crust
Ingredients

Instructions
- Cut butter into small cubes and place in freezer for at least 30 minutes.
- In the bowl of a food processor, add flour, and salt. Pulse several times to combine.
- Place frozen cubes of butter on top of the flour mixture.
- Pulse at 10 second intervals until mixture resembles coarse meal. You want to see pea-sized pieces of butter.
- Combine ice cold vodka and ice-cold water.
- Sprinkle1/4 cup of the ice-cold vodka/water mixture over flour mixture.
- Pulse until mixture sticks together when pressed. Do not mix until a ball forms.
- Turn crust mixture out onto lightly floured surface. Gather the mixture into a ball. Cut the ball in half. Form each half into a disk. Cover with plastic wrap twice and place in refrigerator for an hour. If making dough ahead of time, place wrapped dough into a freezer bag before putting in fridge.
- To use, allow chilled dough to sit out for about 5-10 minutes before rolling.
- Lightly dust work surface with flour. Flour lightly the top of the dough and your rolling pin. Roll, turning dough a quarter turn between rolling. Try to keep a round shape.
- Roll dough back over rolling pin and gently place over pie pan.
- Gently press the dough against sides of pie pan. Trim excess crust, leaving about 1/2 inch overhang. Tuck the overhanging crust under so the edge of the crust is even with the edge of the pie pan. Use a fork and press the tines around the edge of the pie crust.
- Your pie crust is now ready for the filling.
STORING PIE CRUST DOUGH
The finished pie crust dough will keep for 3 days in the fridge and 3 months in the freezer. When I make pie crusts, I like to make more than one batch and store the extras in the freezer.
I like to flatten the dough into disks and wrap in two pieces of Saran wrap. Place the disks into a freezer bag. Label and date. That way, I always have them on hand.
Bring the frozen pie dough out the night before you want to use it and place in fridge. Before rolling, let the dough sit outside of the fridge for about 10-15 minutes before rolling.
Disposable pie tins can be used if you want to roll your pie crust and put it in the pan before freezing. To freeze the pan with unbaked crust, wrap in saran wrap, place in a freezer bag, label, and freeze. If you are making a fruit pie, use the pie crust frozen. If baking blind, add the parchment paper and your pie weights to the frozen crust and bake until the pie crust is browned.
Be the first to comment